TL;DR: Grab a Mac Mini M2 or a Mac Mini M2 Pro if you want to generate images faster, then download MochiDiffusion and start generating your images at home. Note: I’m using referral links in this post, so if you buy something I might receive a commission.
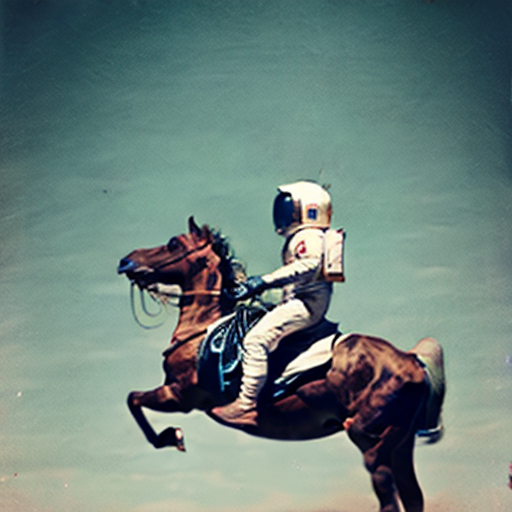
Stable Diffusion is a deep learning model that allows you to generate images by simply writing a text prompt, like this:
“A photograph of an astronaut riding a horse”
Before the release of Stable Diffusion, you would have needed to access cloud services to generate images like this. Some of the most popular ones are DALL-E and Midjourney.
Now, you’re able to do this with your own hardware. Usually, this would require you to setup a rather expensive PC with a powerful GPU, but with the latest research from Apple, you’re now able to run Stable Diffusion with Core ML on their new ARM devices(M1, M2, etc).
The base configuration of the newly released Mac Mini M2 is the best deal you can get in terms of the cheapest device that can be used with Stable Diffusion. But if you want to have faster generation of images, then the Mac Mini M2 Pro is an incredible device that runs faster and comes with more RAM and more disk space, which is handy since each of these models is quite large. Also, keep in mind that you might be able to find the older Mac Mini M1 at good prices. Any of these devices are able to run Stable Diffusion, the main difference would be the speed in which they do it.
Now, to be able to run Stable Diffusion on the Mac Mini natively, you’ll need to download an application called MochiDiffusion. After you install it, you’ll also need to download a Stable Diffusion model, prepared specially for Core ML. You can find some ready to use models here. In particular, you want to get the split_einsum version of the model, which is the one compatible with the Neural Engine of the Mac Mini. For example, if you want the latest Stable Diffusion model, which is 2.1, you can find it here. Simply unzip the file and place it under /Users/YOUR_USERNAME/Documents/MochiDiffusion/models.
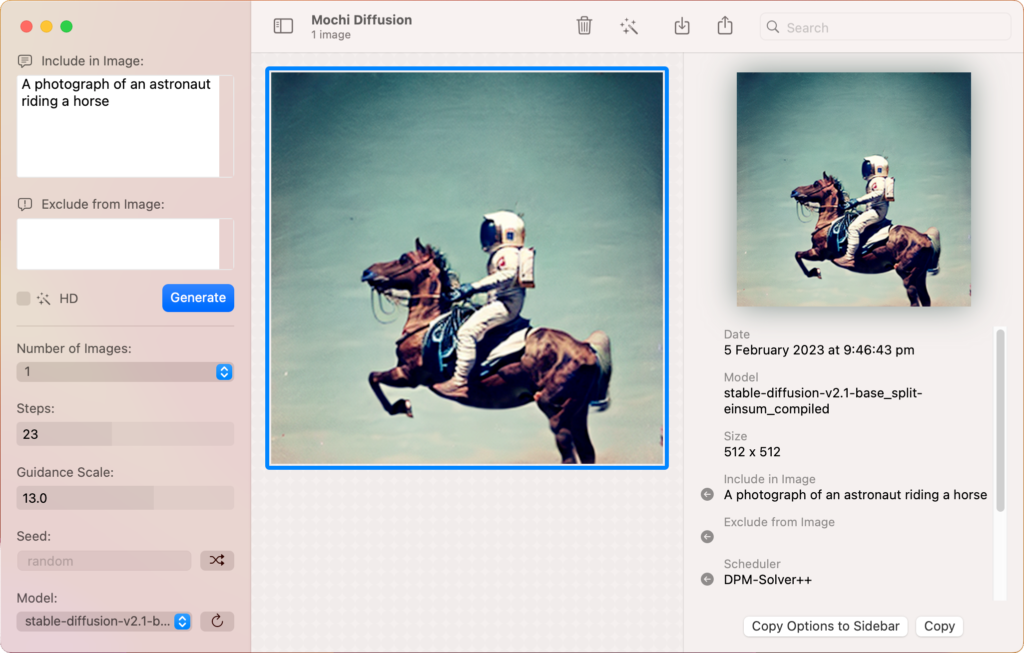
Mochi Diffusion v2.2 with Stable Diffusion v2.1 model
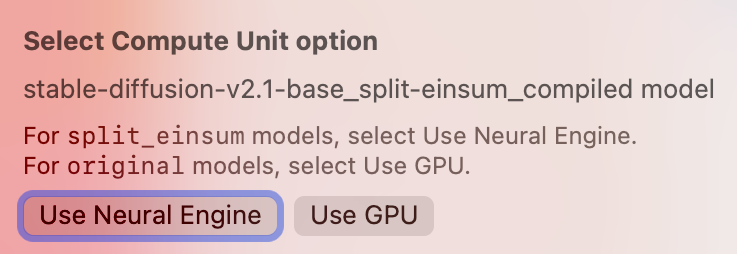
You can now simply write your prompt where it says “Include in Image:“, and also you can write stuff you don’t want to see in the “Exclude from image:” box. When you’re asked about the Compute Unit option, make sure to select “Use Neural Engine” as we’re using the split_einsum models.
Select Use Neural Engine whenever you see this as we’re using split_einsum models
Now you’re ready to generate your first image, simply click Generate and wait. When you click Generate for the first time after you load a model, it will take some extra time to compile it and optimise it for your device. After this is done, it will generate the next images much faster. Once the image appears on the screen, you can simply select it and click on the icon with the arrow pointing down at the top to save it.
The generated images are 512×512, but you have the option to check the HD box to enlarge your images in generation time to 2024×2024 using Real-ESRGAN. You can also enlarge the images later if you select them and click on the magic wand icon on top. And that’s really all you need to start generating images with your Mac Mini. Enjoy!
TL:DR; For real-time processing get the Seek Thermal CompactPRO (the one with USB-C) and also grab a USB-C extender cable. If you don’t need real time processing, you can get any FLIR One as you’ll be able to get absolute temperature readings from the saved images. Note: I’m using referral links in this post, so if you buy something I might receive a commission.
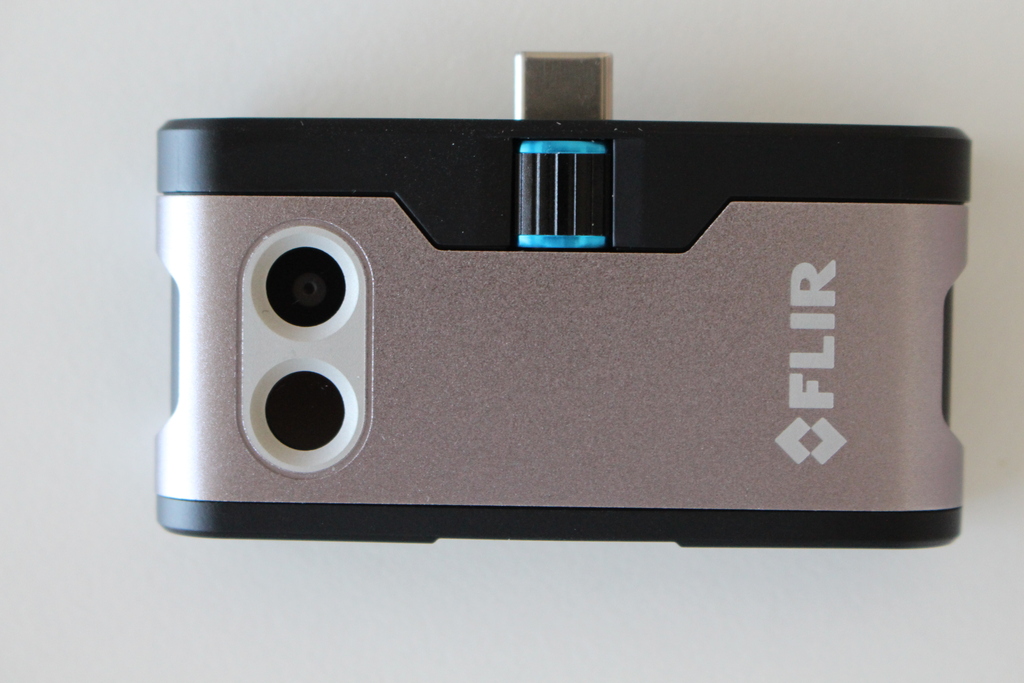
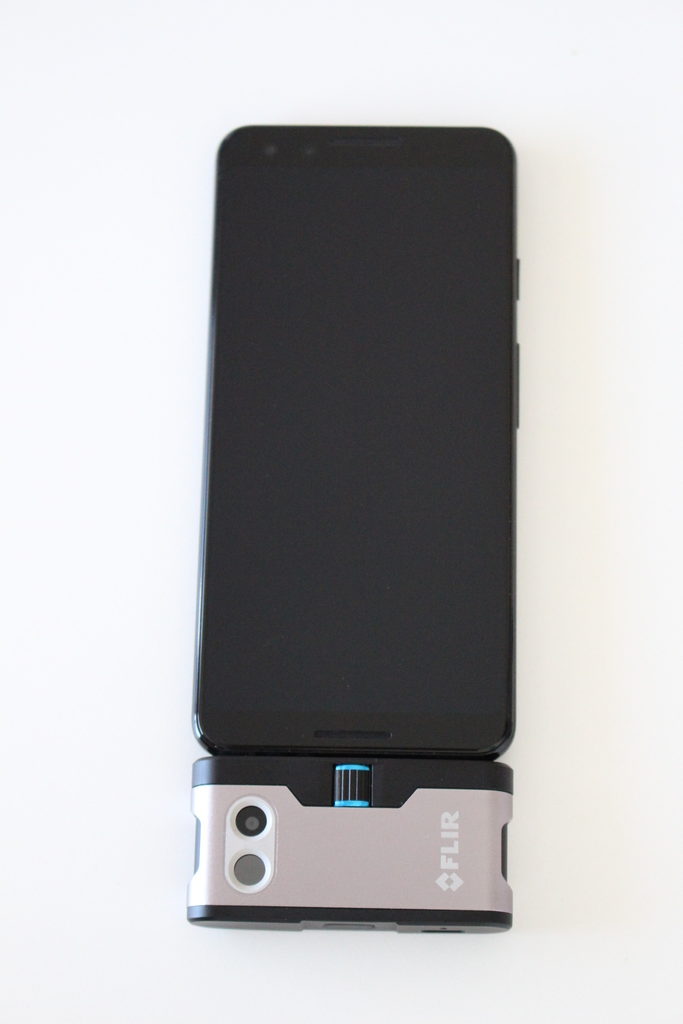
If you’ve read anything about thermal cameras, you would have probably stumbled upon FLIR cameras. They are one of the most popular brands, and a few years ago they created the first affordable USB thermal camera, the FLIR One. Because it is a well known brand and the price is relatively cheap for a thermal camera, I decided to get one of them and see how useful it would be for computer vision applications.
FLIR One thermal camera with a USB-C connector. Note that it comes with both, a thermal and an RGB camera, side by side(left).
These days, FLIR offers a 3rd generation of this affordable USB thermal camera. They actually have three different models: The FLIR One, the FLIR One Pro, and the FLIR One Pro LT, each one offering different features and different resolutions at different prices. They also make two versions of each, one for iOS and another one with an Android(USB-C) connector. You can check them out here.
All of these FLIR cameras are supposed to be used connected directly to a smartphone, which uses the official FLIR app to communicate with the camera, and show the images on the screen of the phone, with the option to save the images for later processing.
The FLIR One camera connected to a phone for normal operation
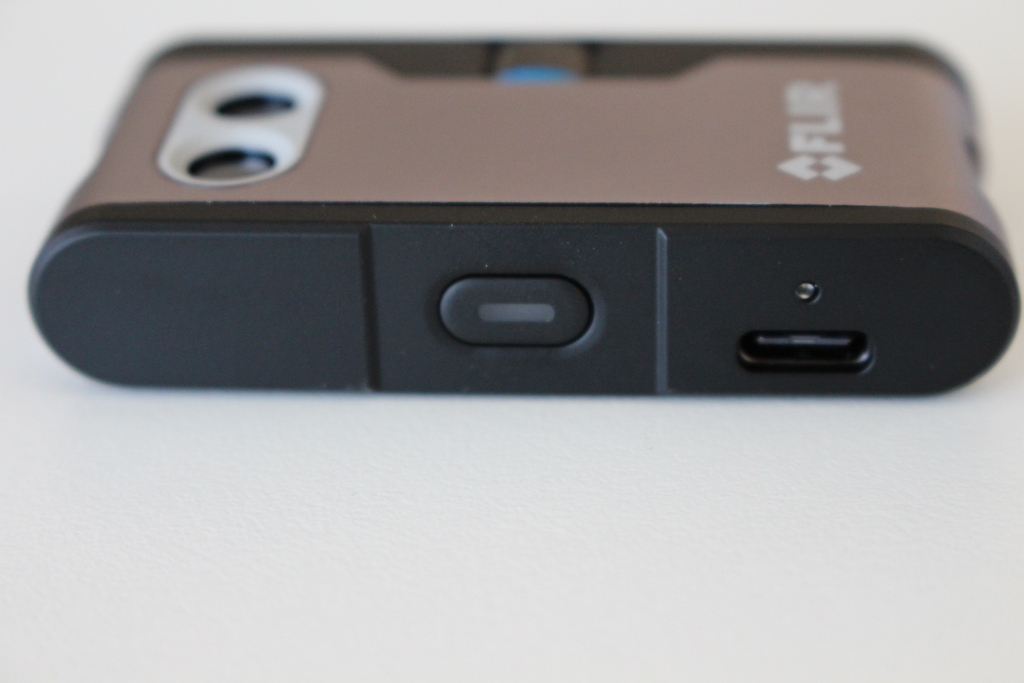
Something that got my attention with these FLIR cameras is that they all come with a rechargeable battery. You need to keep it charged in order to use it, as it doesn’t use the phone battery to power itself.
USB-C female connector for charging its battery on the right, and the power button and led power indicator in the middle
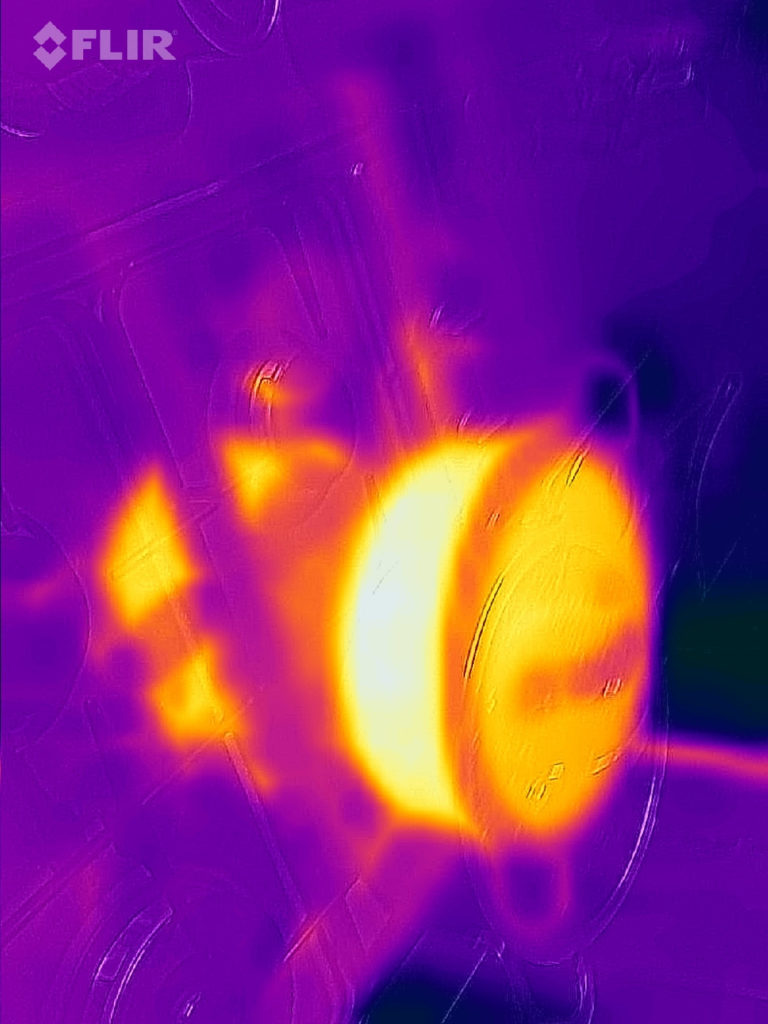
After you install the official FLIR app, charge the camera, and connect it to the phone, you need to turn the camera on and wait for a few seconds. If everything goes right, you should be able to see and save thermal images on your phone, like this one:
Thermal view of a pot with boiling water. The FLIR app tries to blend it with the RGB camera, but it’s not really well aligned out of the box.
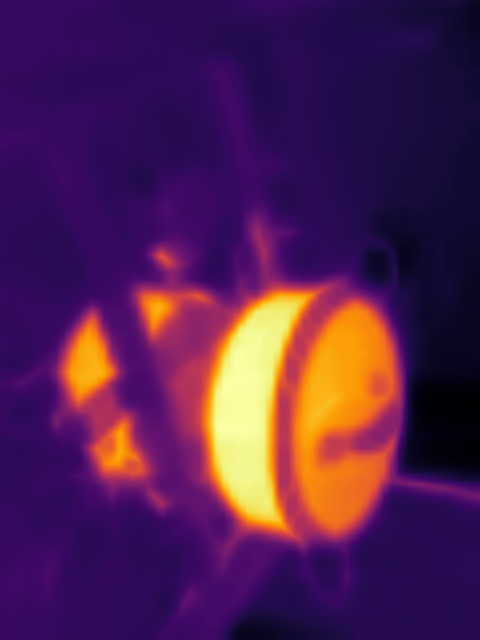
After you save the FLIR images you can extract the temperature information per pixel as a csv file, and also the thermal and visual images, using an open source library: read_thermal. You can get the temperature in Celsius per pixel saved as a csv file like this(and also you can get the thermal and RGB images):
As far as I know, there is no possible way to use any of these FLIR One thermal cameras in real time connected to a computer. You can only use them connected to a phone, and using the official FLIR app. After you save the images you can then process them in a computer with the previously mentioned library.
After using the FLIR One for a bit I realised it has some pros and cons. It’s great that you can get the absolute temperatures per pixel while post processing the images. It’s also handy to have an RGB image alongside the thermal data. But, the fact that they cannot be used directly from a computer device, and that you need to constantly keep charging their battery makes the FLIR One thermal cameras not a great fit for real time computer vision applications.
Fortunately, there is another brand that makes USB thermal cameras, Seek Thermal:
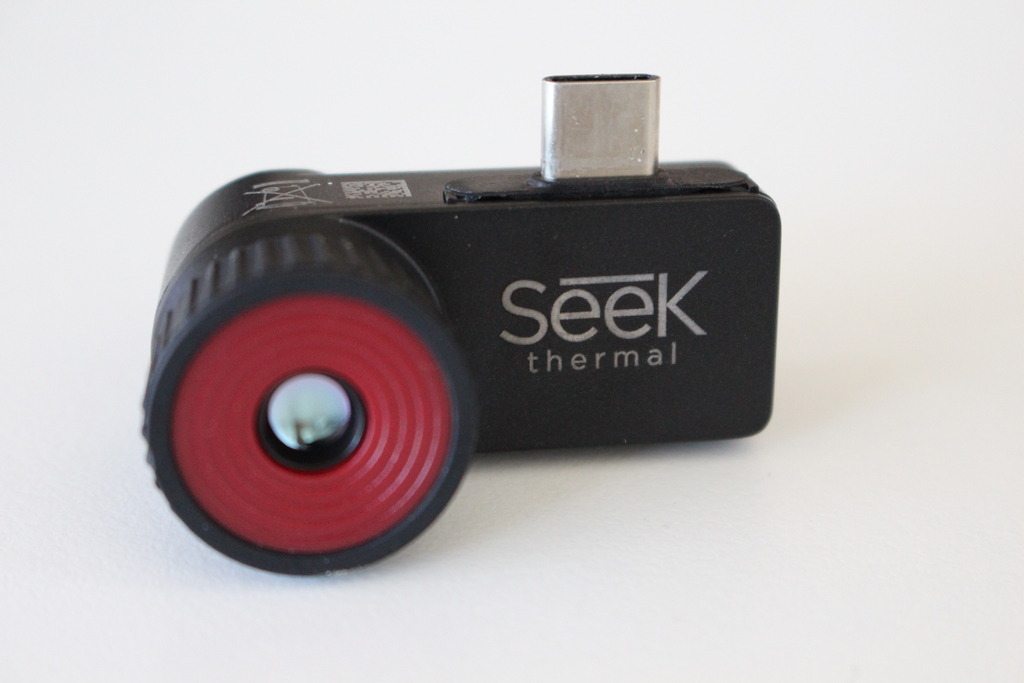
Seek Thermal CompactPRO camera
Seek offers two models, the Seek Compact and the Seek Compact Pro. Also, for each model they offer a version with a telephoto lens, marked with an XR suffix. The Seek Compact Pro has a higher resolution(320 x 240) compared to the Seek Compact(206 x 156). The field of view of the Compact Pro is 32° whereas the Compact Pro XR has only a 24° field of view. For general computer vision tasks I found the wider field of view and the higher resolution of the Seek Compact Pro was the best.
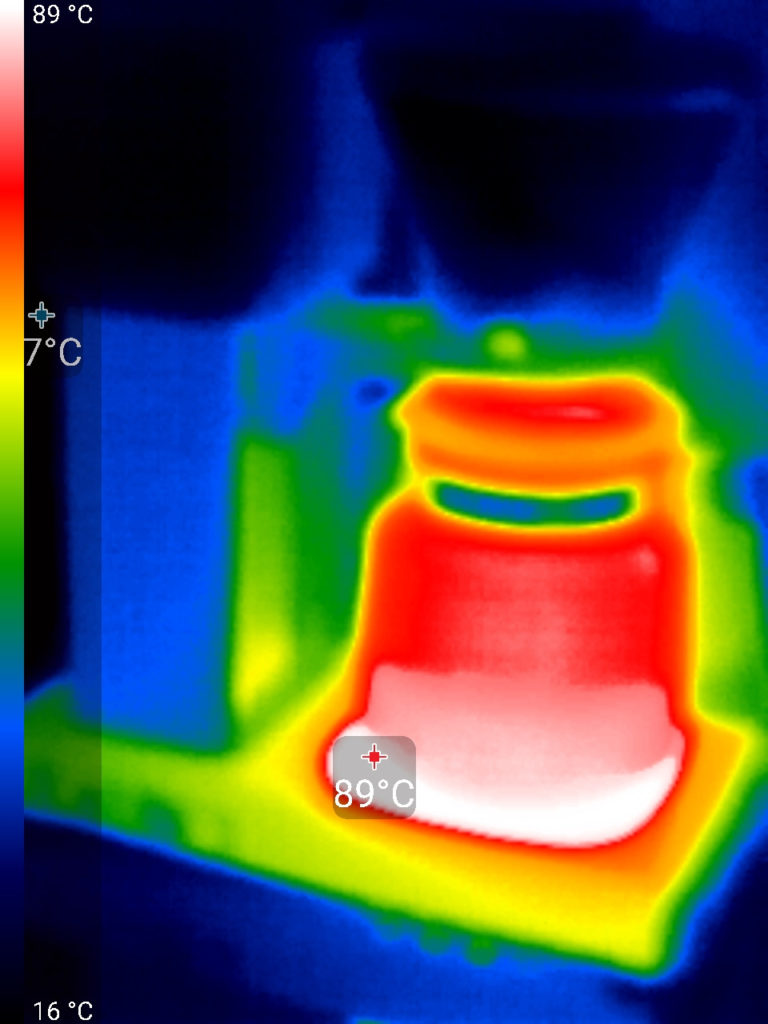
Seek also has an official app that you can use with your phone, and it works similar to how the FLIR app works:
Thermal view of a coffee pot. Note that Seek cameras don’t come with an extra RGB camera.
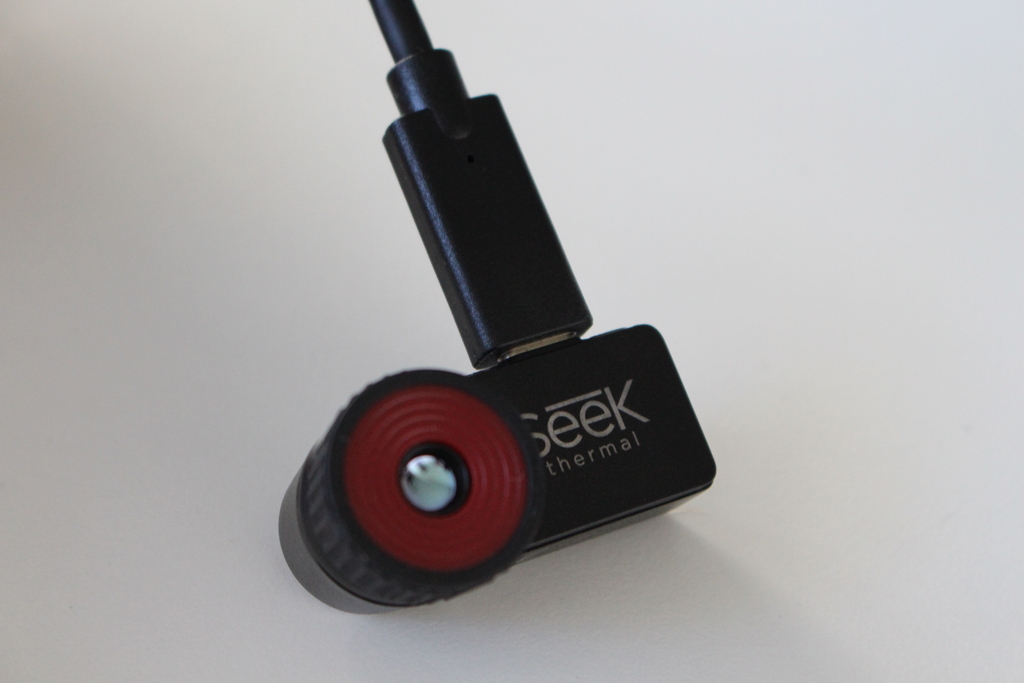
The main advantage for the Seek cameras is that you can also use them on your computer with this great open source project: libseek-thermal. If you’re going to connect the Seek camera to your computer, you should also grab a USB-C extender. If your computer doesn’t have a USB-C connector then you can simply grab a USB converter cable.
Seek Thermal CompactPRO camera with a USB-C extender
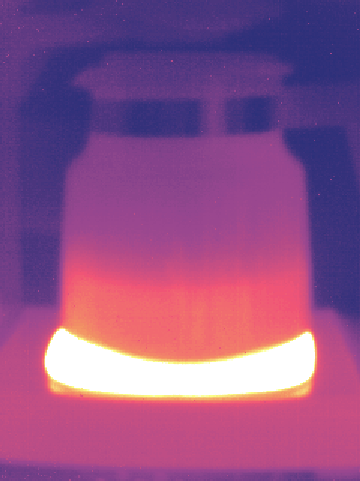
You can now connect the camera to a computer, and by using libseek-thermal you should be able to see thermal images in real time(note that the library as of the time of writing doesn’t provide absolute temperature readings):
Real-time view of a coffee pot from the CompactPro camera connected to a computer.
So, to summarise, these two cameras are great for doing computer vision but each has some pros and cons, and the best one for you will depend on your specific requirements.
If you need to do real time processing, then the best camera would be the Seek Thermal CompactPRO (the one with USB-C) connected to your computer through either a USB-C extender or a USB converter cable. You won’t have to worry about charging any batteries, and you’ll be able to get the thermal images in real time in your computer. The downside is that you won’t get absolute thermal information. This means you don’t know the exact temperature, you just know which areas are relatively hotter/colder.
If you don’t need to do real time processing, then any FLIR One camera that is compatible with your phone should be fine. You will need to keep the battery charged, and use your phone to save the images using the FLIR official app. But once you have those images in your computer you can post process them and get the absolute temperature values for every pixel. You will also get an RGB view of the scene as well, which might be useful for certain applications.
I’m a Computer Engineer with a Master of Science degree in computer vision. I’ve worked in different areas such as cognitive computing, embedded systems, and augmented reality. Some of the articles I’ve written in this blog contain links to products, such as my image processing book below. As an Amazon Associate I earn from qualifying purchases.
OpenCV Video Course
Simple Background Remover
Simple Image Generator
Image Processing Book
Research Papers You can see a list of my research publications here