Most optical character recognition(OCR) software first aligns the image properly before detecting the text in it. Here I’ll show you how to do that with OpenCV:
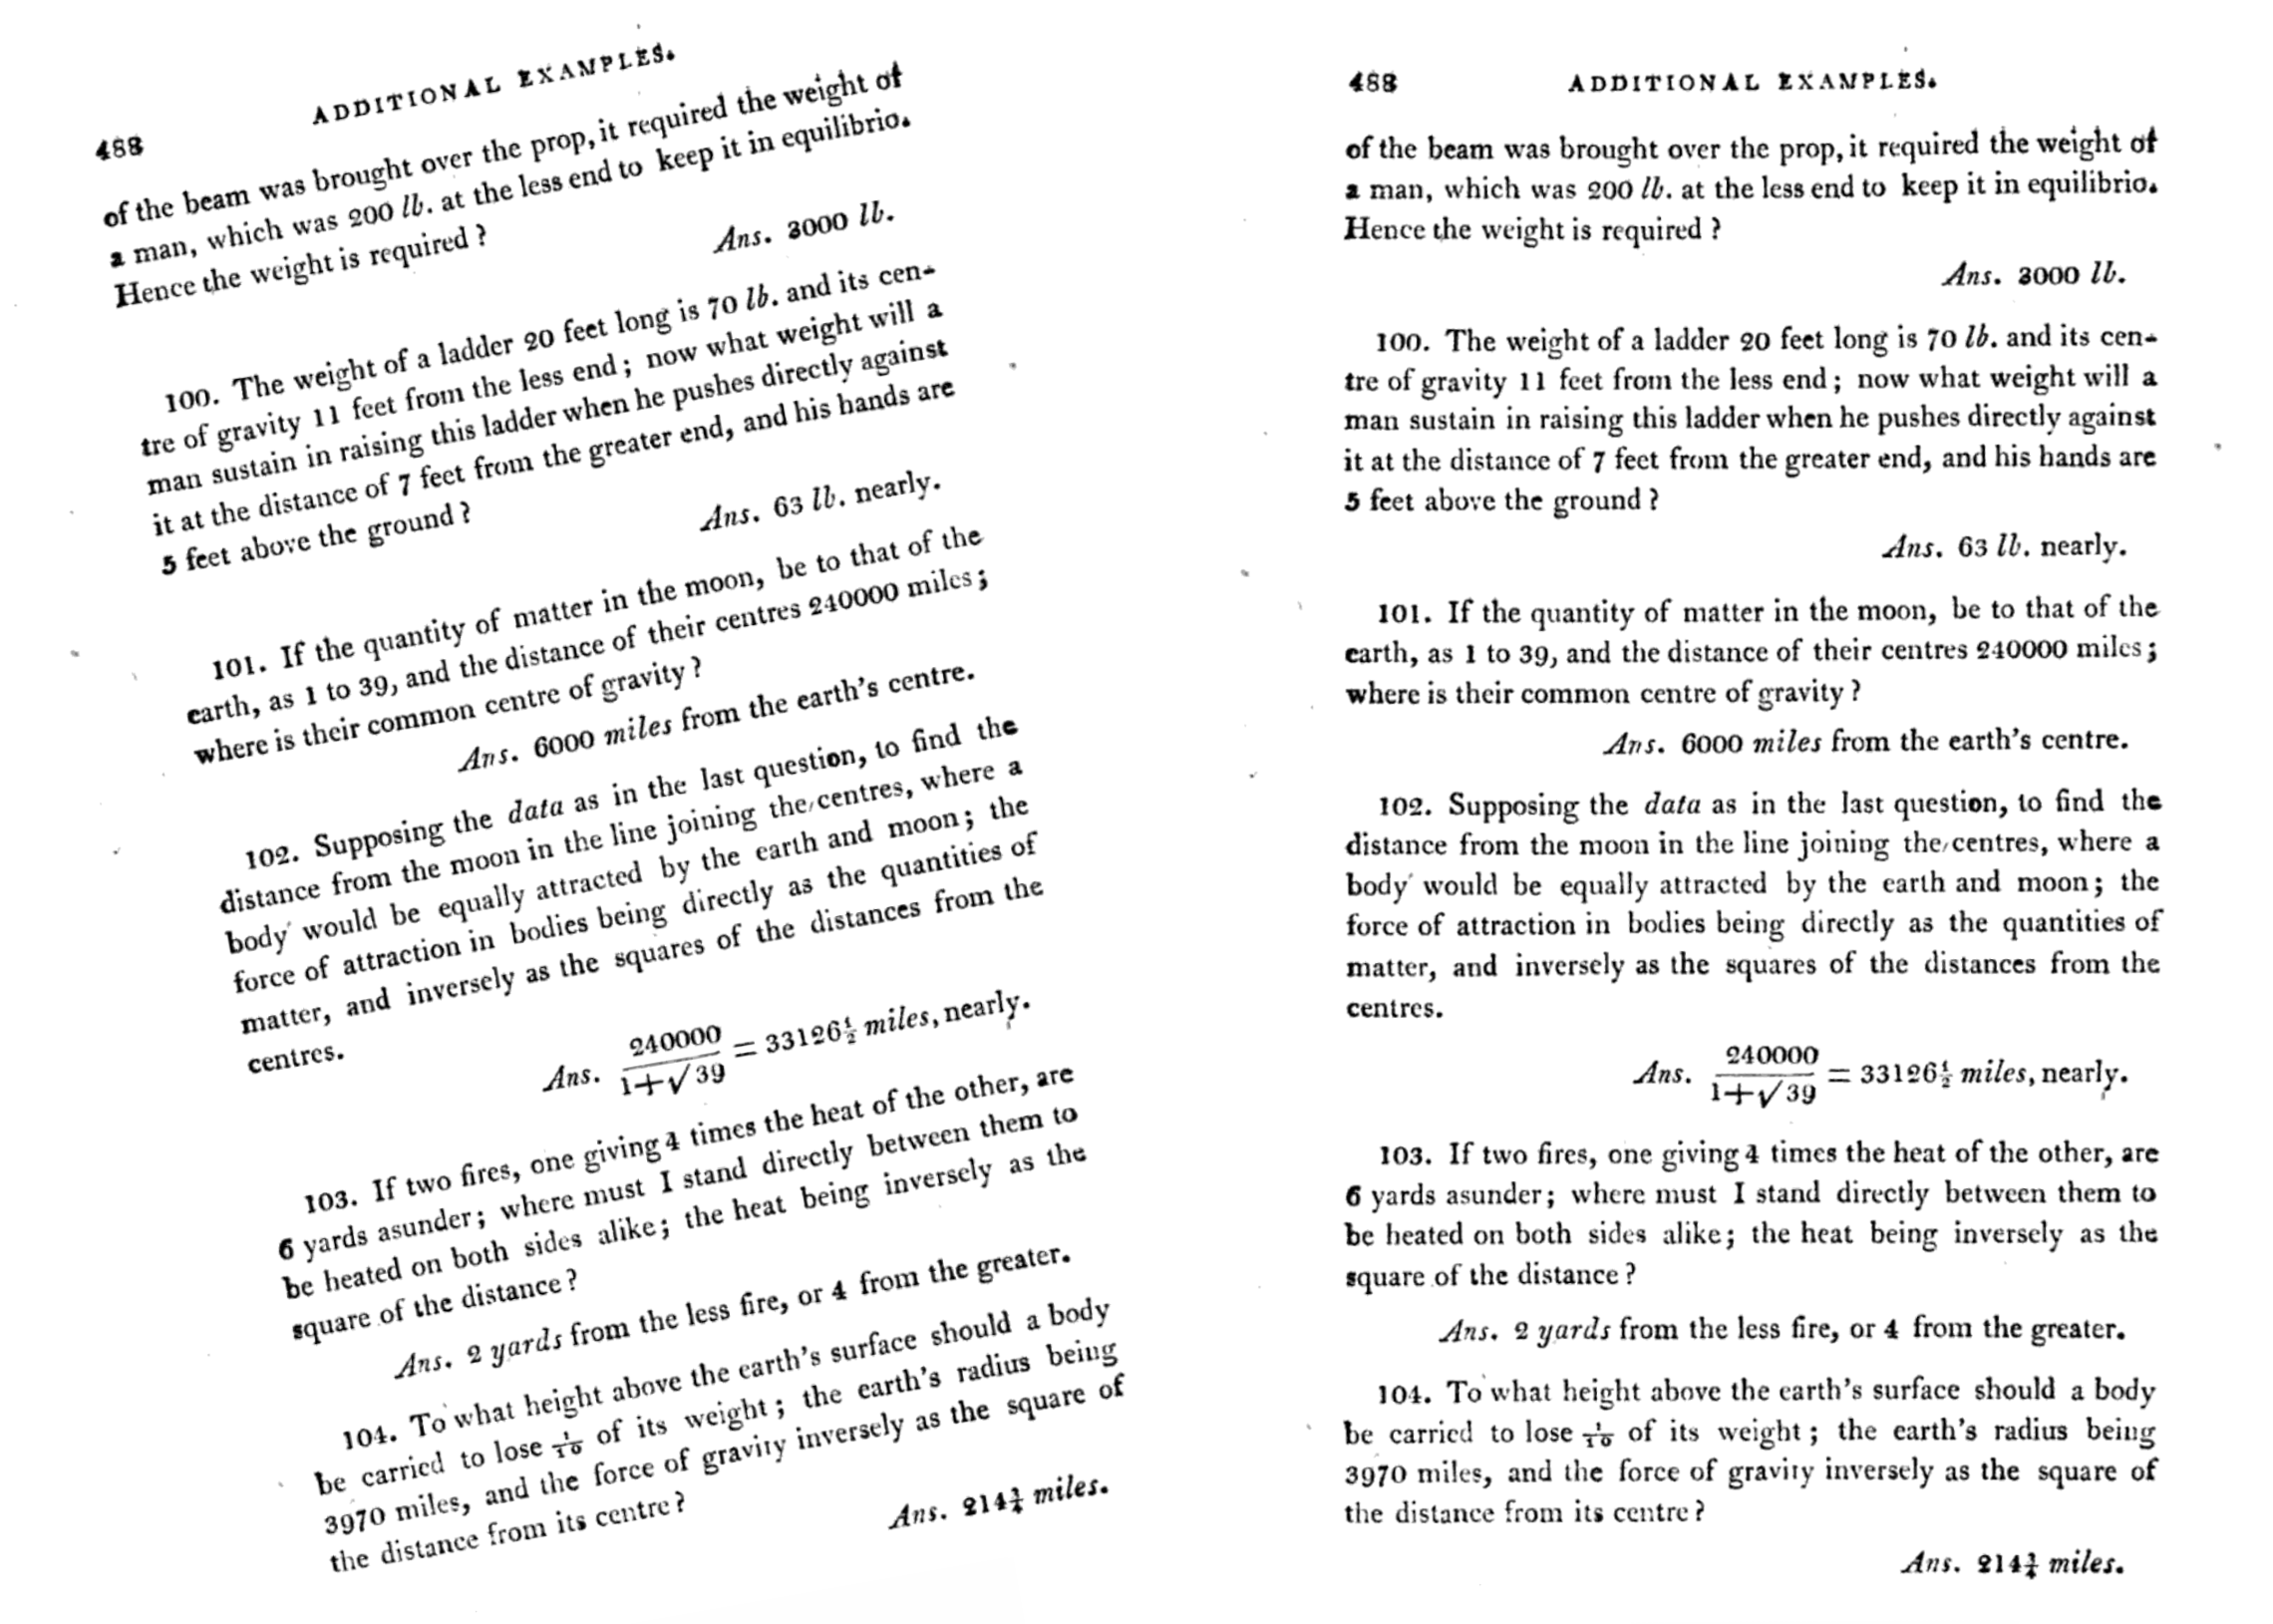
First we need to include the required header files:
#include <opencv2/core.hpp>
#include <opencv2/imgcodecs.hpp>
#include <opencv2/highgui.hpp>
#include <opencv2/imgproc.hpp>
#include <iostream>
#include <iomanip>
#include <string>
Let’s read an image in. You probably will have a color image, so first we need to convert it to gray scale (one channel only).
cv::Mat image = cv::imread( "text_rotated.png", cv::IMREAD_COLOR);
cv::Mat gray;
cv::cvtColor(image, gray, cv::COLOR_BGR2GRAY);
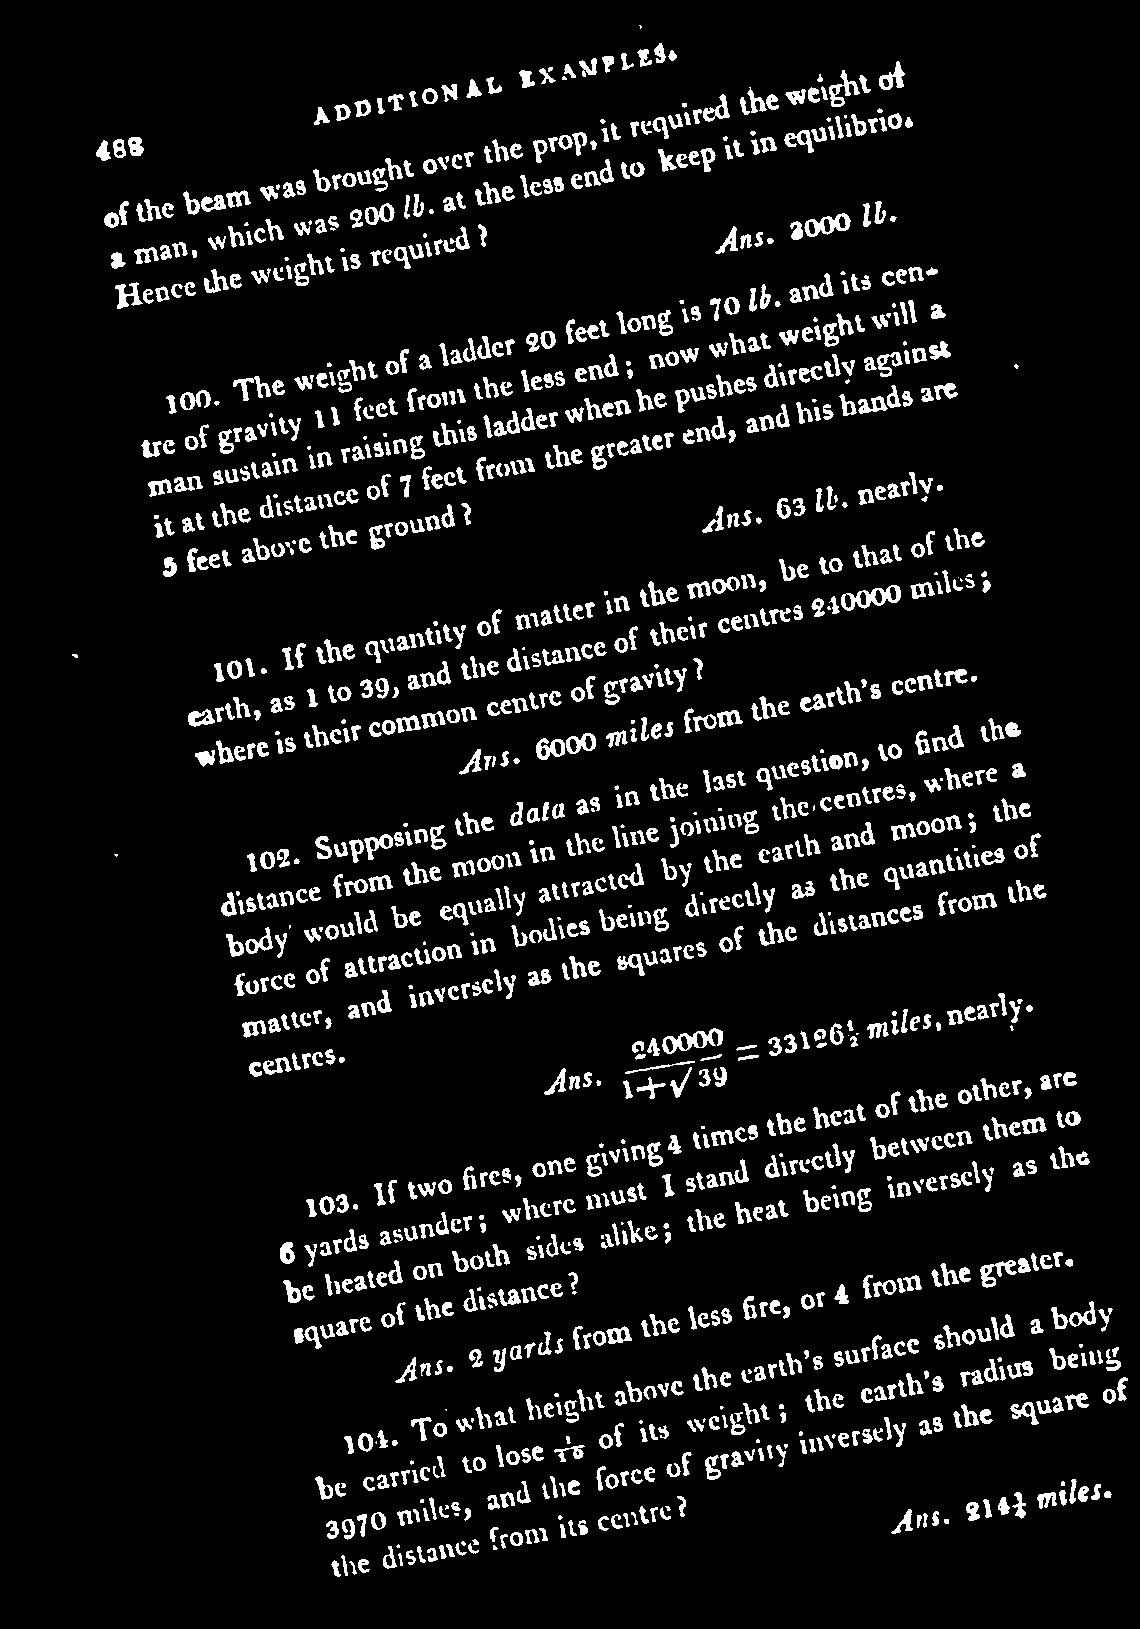
We’re interested in the text itself and nothing else, so we’re going to create an image that represents this. Non-zero pixels represent what we want, and zero pixels represent background. To do that, we will threshold the grayscale image, so that only the text has non-zero values. The explanation of the inputs is simple: gray is the grayscale image used as input, thresh is where the thresholded image will be stored. The next argument is the threshold value, set to 0, although it is ignored since it will be calculated by the Otsu algorithm because we’re using THRESH_OTSU flag. The next argument is 255 which is the value to set the pixels that pass the threshold, and finally the other flag indicates that we want to use a binary output (all or nothing), and that we want the output reversed (since the text is black in the original).
cv::Mat thresh;
cv::threshold(gray, thresh, 0, 255, cv::THRESH_BINARY_INV | cv::THRESH_OTSU);
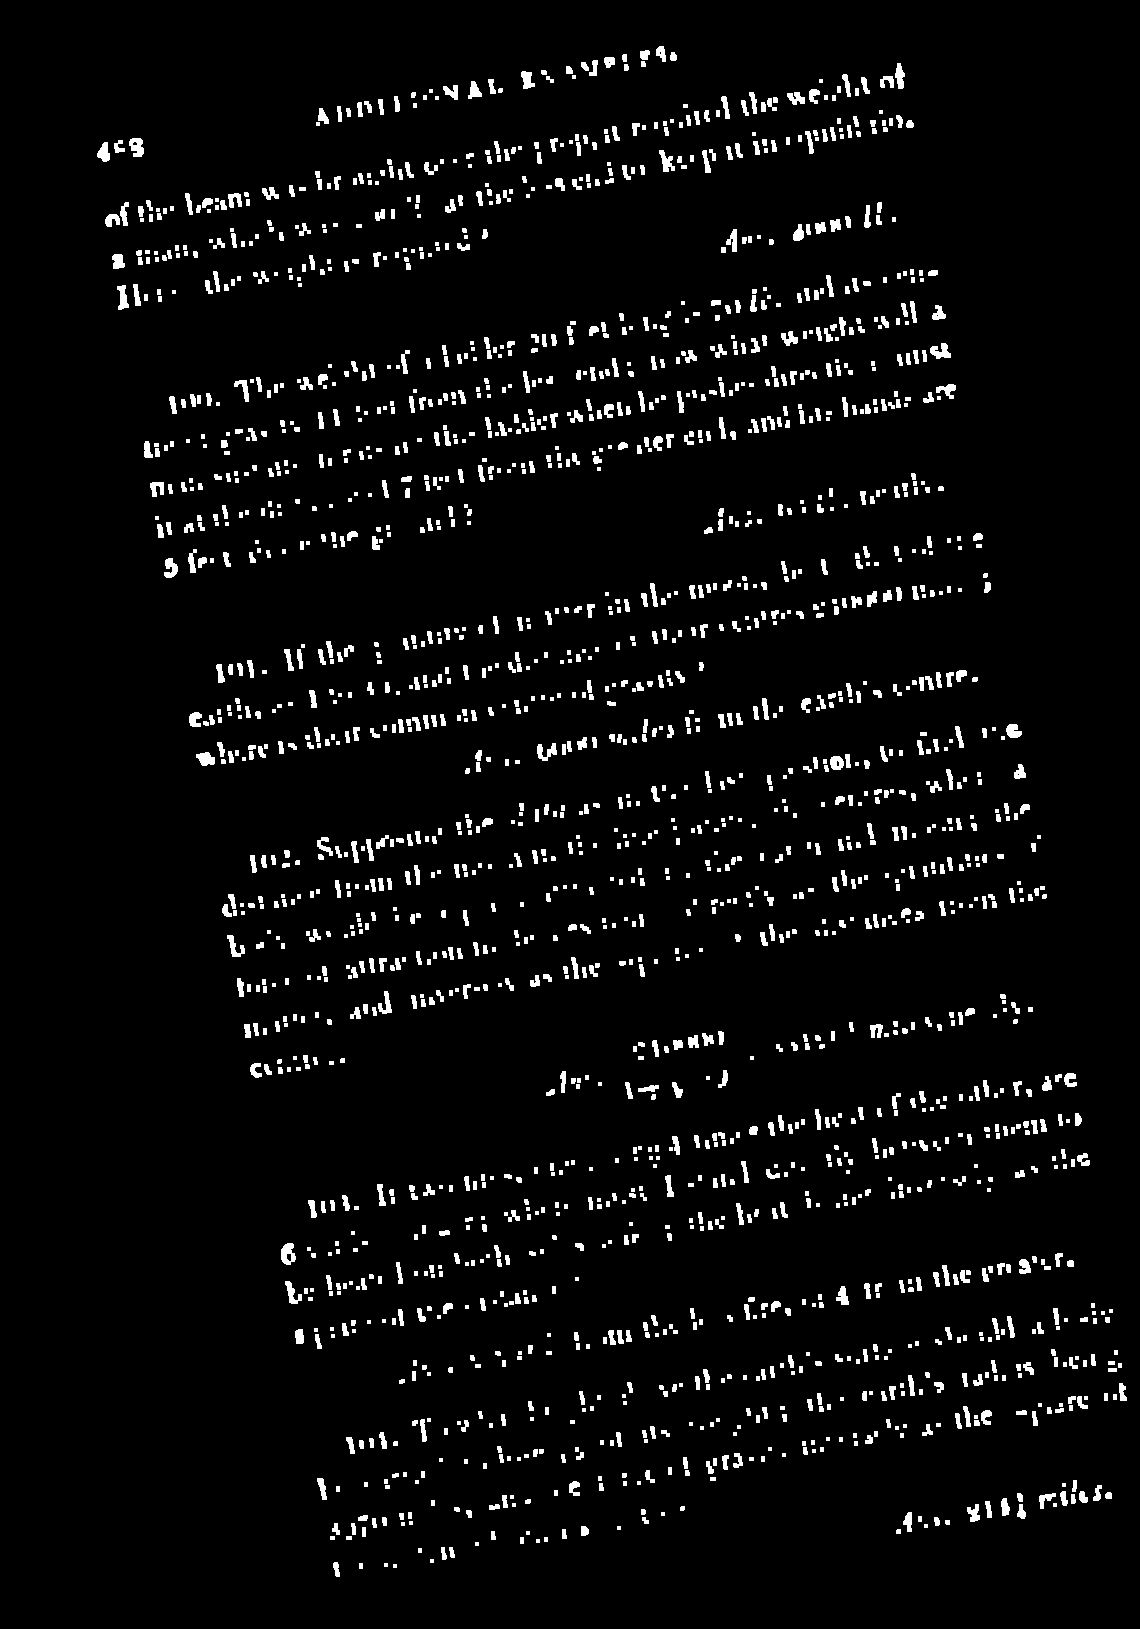
First we need to remove those extra white pixels outside of the area of the text. We can do that with the morphological operator Open, which basically erodes the image (makes the white areas smaller), and then dilates it back (make the white areas larger again). By doing that any small dots, or noise in the image, will be removed. The larger the kernel size, the more noise will be removed. You can do this either by hand, or with an iterative method that checks, for example, the ratio of non-zero to zero pixels for each value, and select the one that maximizes that metric.
double kernel_size = 4;
cv::Mat thresh_filtered;
cv::Mat kernel = cv::getStructuringElement( cv::MORPH_RECT, cv::Size(kernel_size, kernel_size));
cv::morphologyEx(thresh, thresh_filtered, cv::MORPH_OPEN, kernel);
Now that we have an image that represents the text, we’re interested in knowing the angle in which it is rotated. There are a few different ways of doing this. Since OpenCV has a convenient function that gives you the minimum rectangle that contains all non-zero values, we could use that. Let’s see how it works:
cv::Mat nonZeroCoordinates;
cv::findNonZero(thresh, nonZeroCoordinates);
cv::Mat imageCopy = image.clone();

for (int i = 0; i < nonZeroCoordinates.total(); i++ )
{
    cv::Point pt = nonZeroCoordinates.at<cv::Point>(i);
    cv::circle(imageCopy, pt, 1, cv::Scalar(255, 0, 0), 1);
}
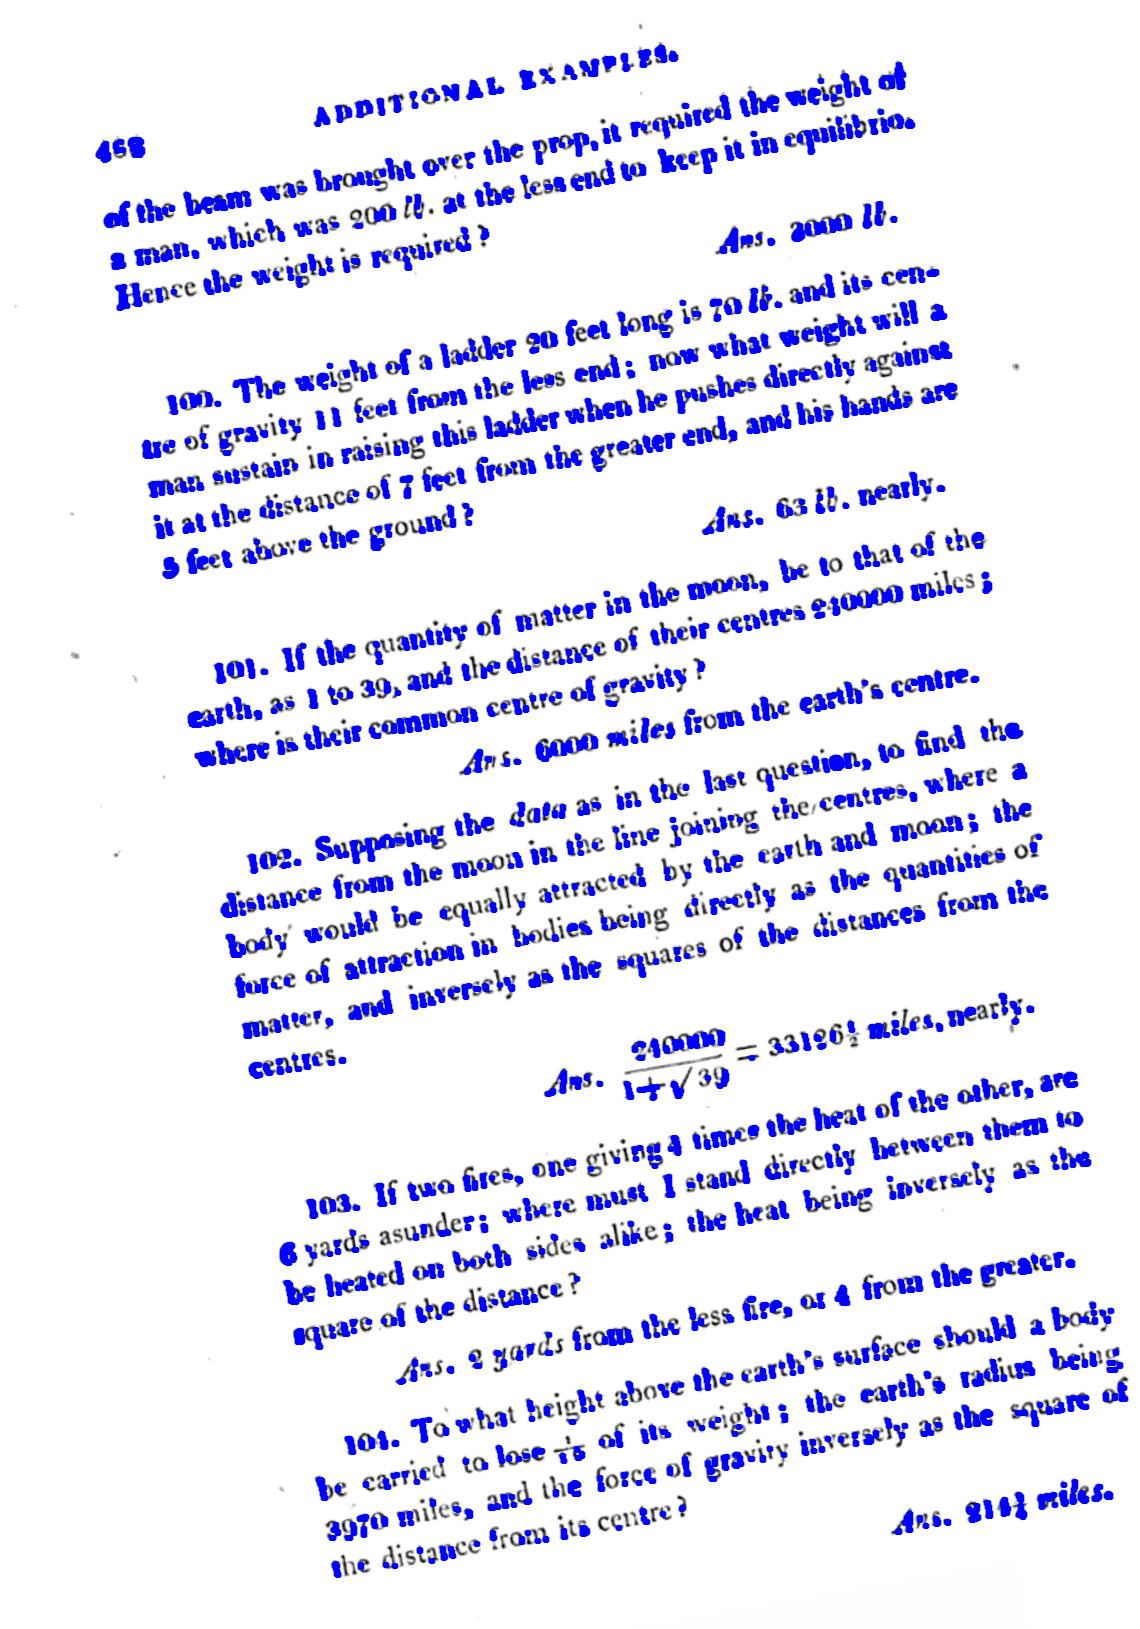
We can now use those coordinates and ask OpenCV to give us the minimum rectangle that contains them:
cv::RotatedRect box = cv::minAreaRect(nonZeroCoordinates);
cv::Point2f vertices[4];
box.points(vertices);
for (int i = 0; i < 4; i++)
{
    cv::line(imageCopy, vertices[i], vertices[(i+1)%4], cv::Scalar(0,255,0), 2);
}
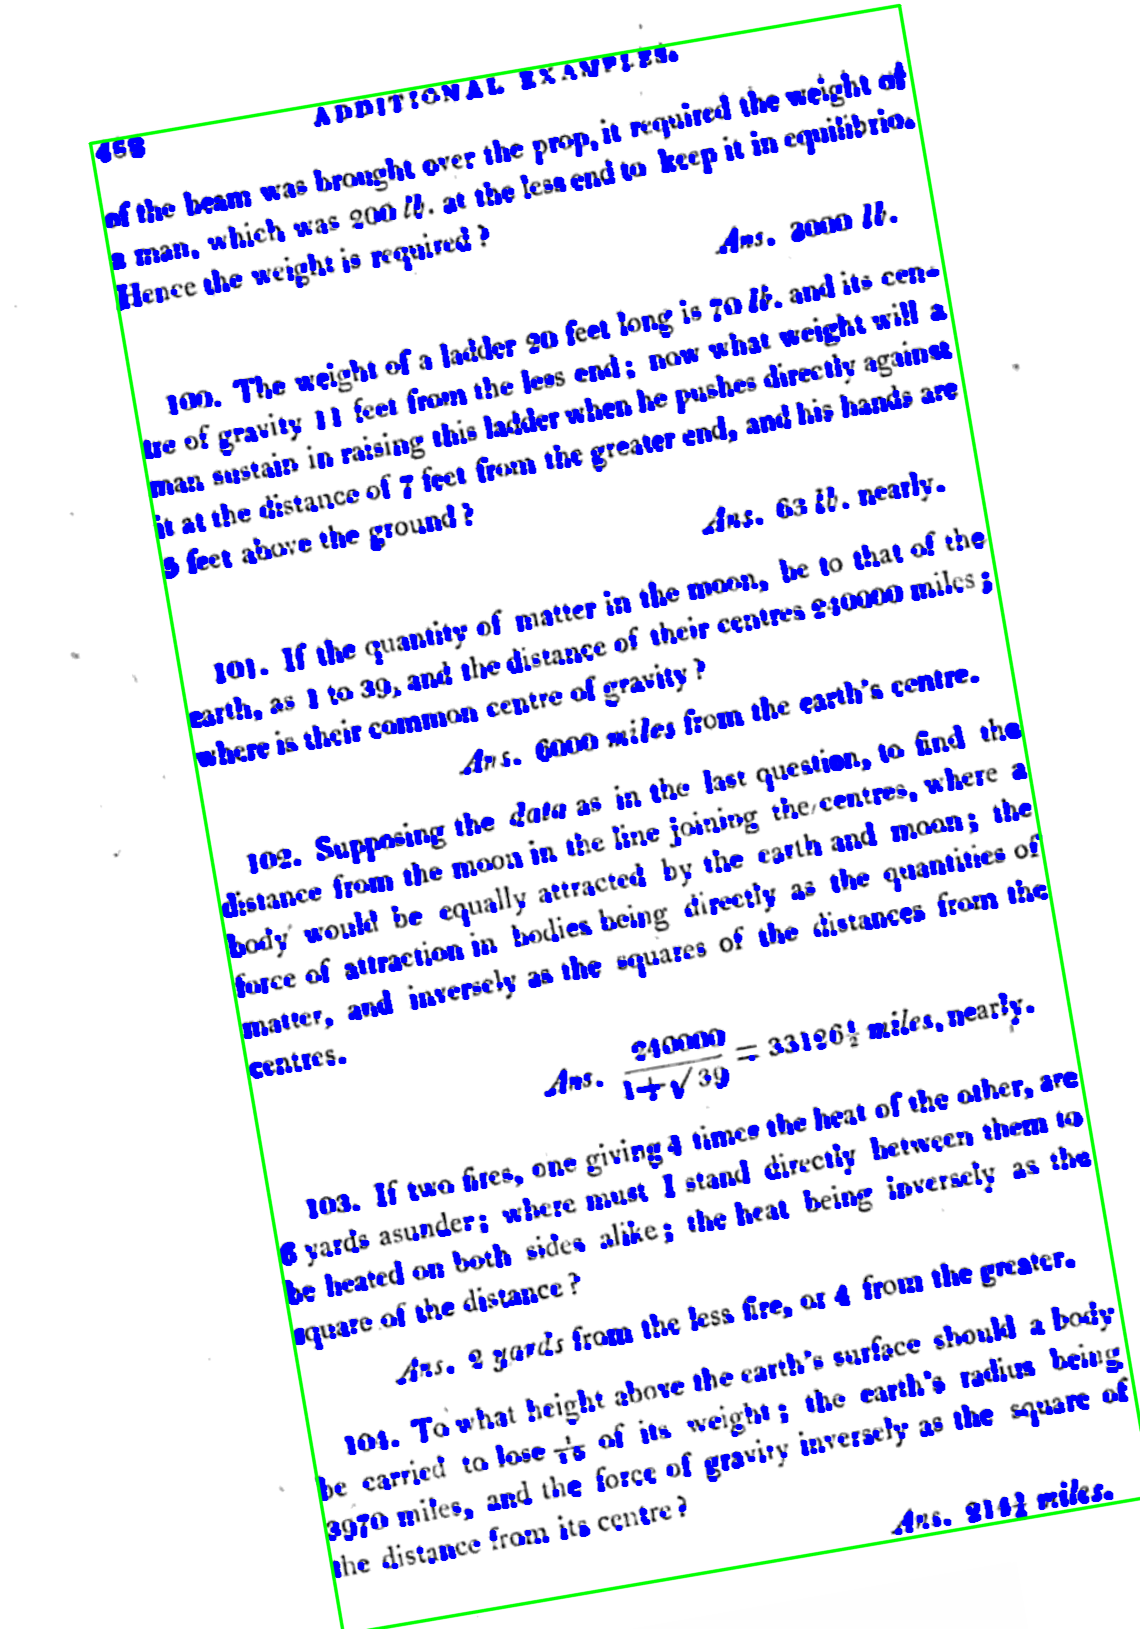
The estimated angle can then be simply retrieved from the returned rectangle. Note: Remember to double check the returned angle, as it might be different to what you’re expecting. The function minAreaRect always returns angles between 0 and -90 degrees.
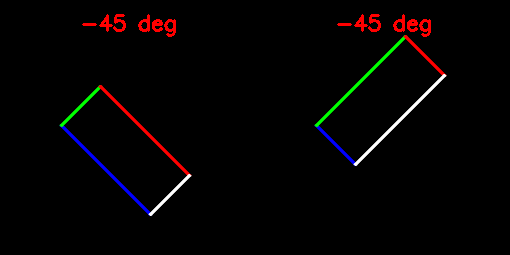
float angle = box.angle;
if (angle < -45.0f)
{
   angle = (90.0f + angle);
}
Once you have the estimated angle, it’s time to rotate the image back. First we calculate a rotation matrix based on the angle, and then we apply it. The rotation angle is expressed in degrees, and positive values mean a counter-clockwise rotation.
cv::Point2f center((image.cols) / 2.0f, (image.rows) / 2.0f);
double scale = 1.;
cv::Mat M = cv::getRotationMatrix2D(center, angle, scale);
cv::Mat rotated;
cv::warpAffine(image, rotated, M, image.size(), cv::INTER_CUBIC, cv::BORDER_REPLICATE);
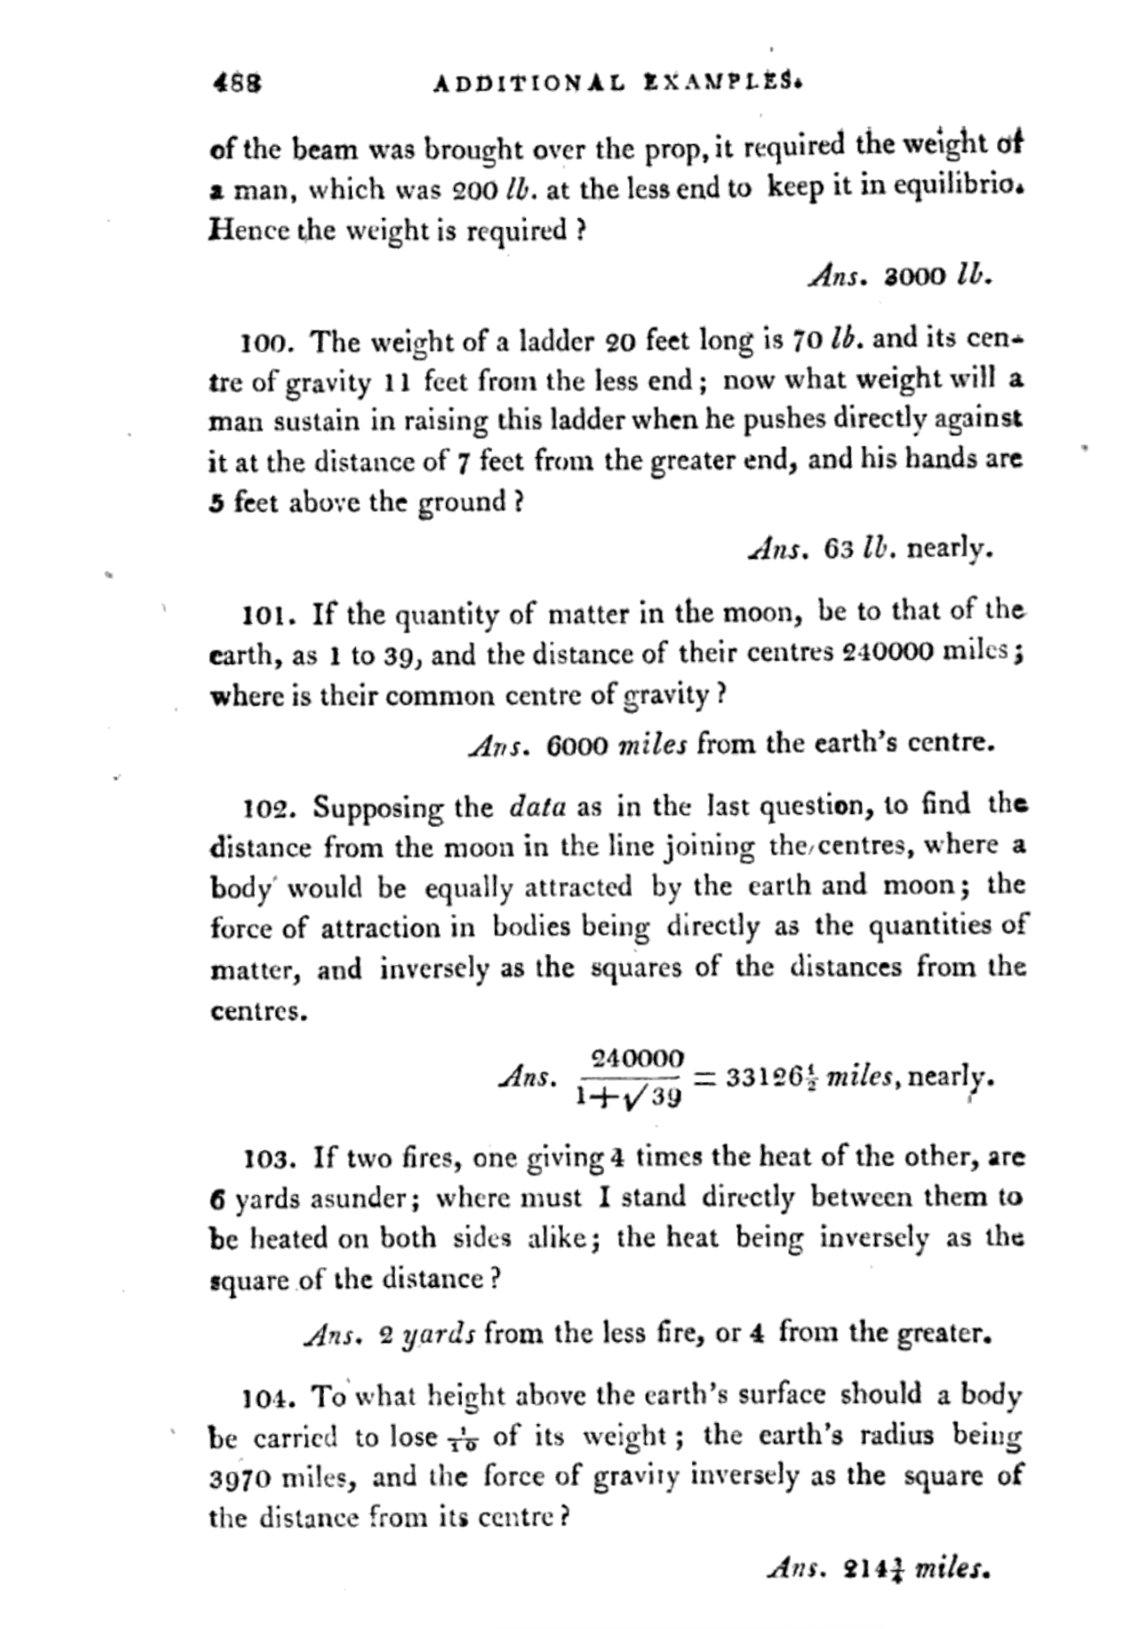
And that’s it. You now have an aligned image, ready to be parsed for OCR, or any other application.



0 Responses
Stay in touch with the conversation, subscribe to the RSS feed for comments on this post.