There is an interesting mode in the Google Camera app, called Lens Blur, that allows you to refocus a picture after it was taken, basically simulating what a light-field camera is able to do but using just a regular smartphone.
To do this, the app uses an array of computer vision techniques such as Structure-from-Motion(SfM), and Multi-View-Stereo(MVS) to create a depth map of the scene. Having this entire pipeline running on a smartphone is remarkable to say the least. You can read more about how this is done here.
Once the depth map and the photo are acquired, the user can select the focus location, and the desired depth of field. A thin lens model is then used to simulate a real lens matching the desired focus location and depth of field, generating a new image.
In theory, any photograph with its corresponding depth map could be used with this technique. To test this, I decided to use an Intel RealSense F200 camera, and it worked. Here are the results:
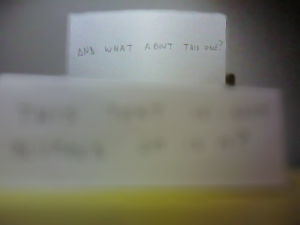
Focused on the front:
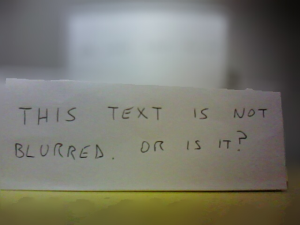
Those two images were created on the smartphone using the Lens Blur feature of the Google Camera app. The input image was created by me externally, but the app was happy to process it since I used the same encoding that the app uses.
To do that, I first took a color and depth image from the Realsense camera. Then, projected the depth image into the color camera:
Color photograph from RealSense F200:
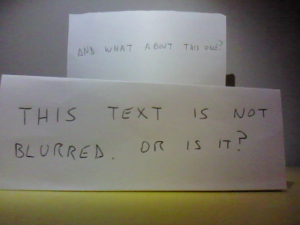
Projected depth image from RealSense F200:
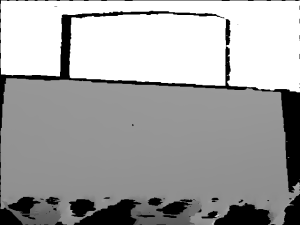
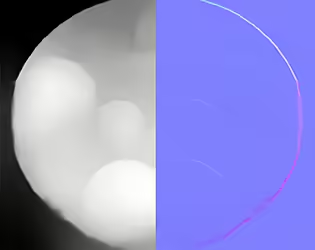
The next step is to encode the depth image into a format that Google Camera understands, so I followed the encoding instructions from the documentation. The RangeLinear encoding of the previous depth map looks something like this:

The next step is just to embed the encoded image into the metadata of the original color image, and copy the final photo into the smartphone gallery. After that, you can just open the app, select the image, and refocus it!.



Nice tutorial, but I have a question:
On your last sentence, “After that, you can just open the app, select the image, and refocus it!.” .. I wonder which Apps do you use to refocus the saved image in the gallery..
Google Camera itself does not refocus the saved image in the gallery. I tried in Android Lollipop.
Ok. After looking some info from webs, I found that to view the image from gallery from Google Camera, can be done by swiping from right to left. It works to refocus the saved image. Thanks
You’re welcome.
Great to see that it worked for you as well.
HI! I am recovering video from R200 in Ubuntu and librealsense. The image on the video I am getting for DEPTH is very noise and it is not possible to distinguish very well the objects… any suggestion?