Virtual make-up is an interesting technology that can be used to aid in the decision of buying cosmetics, enhancing portraits, or just for fun.
Since the final color of an applied cosmetic depends both, on the color of the cosmetic, and on skin color, most of the time people have to go to the stores and try the products on themselves to see how they would look like. With virtual make-up technology, this can be conveniently simulated on a computer, or a mobile phone. The only thing needed is a photograph of their face looking towards the camera, and the software is able to simulate how a particular make-up would look on that particular skin color. This can also be applied to a live camera feed for a more realistic application with real time rendering.
To create an application like this, the first step is to estimate where the faces are in the photograph. This can be solved with computer vision. In the general case, this problem is called object detection. You need to define how your object looks like, and then train an algorithm with many images of the object. Most computer vision algorithms that perform this task assume that the face appears on a roughly frontal view, with little or no objects covering it. This is because most faces have a similar structure when viewed from the front, whereas profile or back views of the head change a lot from person to person because of hair styles, among other things.
In order to capture the facial structure, these algorithms are usually trained with features such as Haar-like, lbp, or HoG. Once trained, the algorithm is able to detect faces in images.
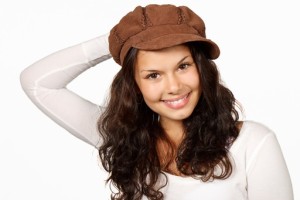
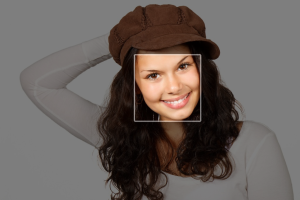
So, for example, let’s say that you start with an image like this:
After detecting the face, you will end up with an region of interest on the image. Something like this:
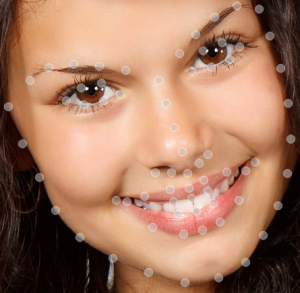
Now, inside that region of interest, we need to detect specific face landmarks. These landmarks represent the position of different parts of the face, such as eyes, mouth, and eyebrows. This is again, an object detection problem. You need to train an algorithm with many annotated images and a specific number of facial landmarks. Then, you can use this trained algorithm to detect those facial features in a new image. Just like this for example:
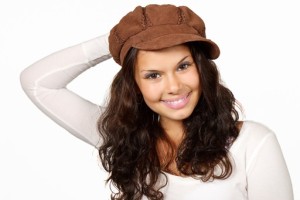
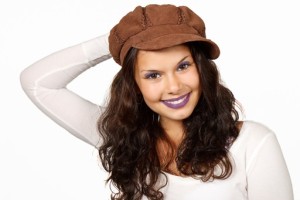
Once you have the position of those landmarks, you need to design your own make-up, and align it to those features. Once you have that, you can then blend together the original image with your designed make-up. Here are some basic examples with a few different colors:
 Â

The position of the detected landmarks and the design of the make-up are crucial to make it appear realistic. On top of that, there are many different computer vision techniques that can be applied in order to blend the make-up into the face in a more realistic manner.