Microsoft stopped manufacturing the Kinect in 2017. Google stopped manufacturing Project Tango in 2018 in favour of ARCore. Intel started winding down their RealSense cameras in 2021 to focus on their main business. Thankfully, we have Luxonis stepping up and producing the next generation of perceptual cameras for robotics and computer vision applications.
Luxonis offers perceptual cameras for basically three types of applications: visible spectrum inference(VSI), VSI plus passive infrared stereo, and VSI plus active infrared stereo. Let’s see each one in detail. Note: I’m using referral links in this post, so if you buy something I might receive a commission.
Visible spectrum inference (VSI) cameras
These cameras have a single RGB sensor, just like a normal camera, but have the ability to perform optimised neural network inference inside the camera with a specialised chip such as the Myriad X VPU. For example if your application is to detect or classify objects, visual tracking, or anything related to doing inference in the visual spectrum, then this type of cameras should be enough for you. They have the least amount of power consumption, smallest size, and they’re also the cheapest ones.
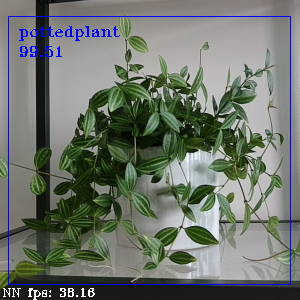
For this section the standard camera would be the Oak-1. If you don’t have any special requirements, this should be the one you get. There are some variants that you might want to consider in case you need something special: If you want to have a wider field of view, you can get the Oak-1 W. If you’re looking for higher resolution, then you should get the Oak-1 Max. If you’re on a budget, you can get the OAK-1-Lite Auto-Focus which is basically the same but with a cheaper sensor, and if you’re putting this on a vibrating environment, such as a drone for example, grab the OAK-1-Lite Fixed-Focus.
VSI plus passive infrared stereo cameras
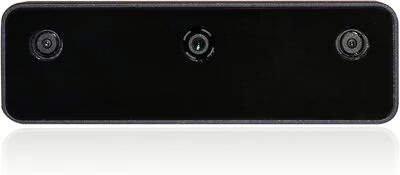
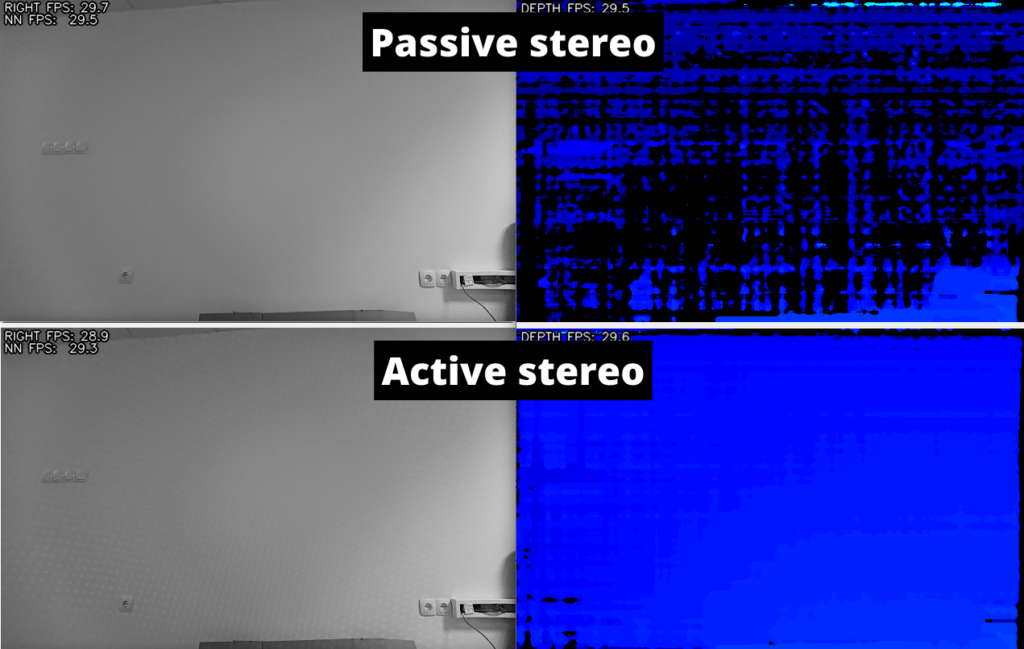
These cameras can do everything that the VSI cameras can do but also come with two additional fast infrared sensors with global shutter that are used to estimate depth through disparity matching inside the camera. The nice thing about this is that your host device can simply use the depth information, all the heavy computation is done inside the camera itself. And of course you can also use those additional infrared sensors however you like, not only for depth estimation, but for example for applications where doing inference in the near-infrared spectrum would be more effective than VSI.

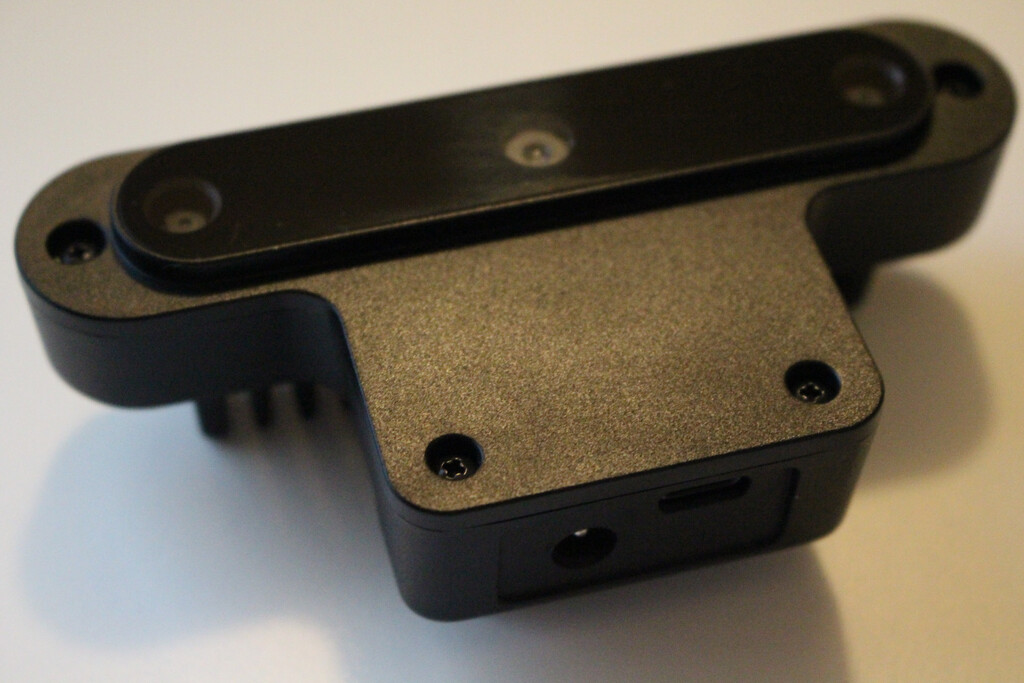
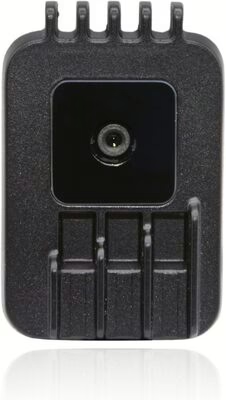
For this section the standard camera would be the Oak-D S2 Auto-Focus. If you don’t have any special requirements, this should be the one you get. There are some variants that you might want to consider in case you need something special. If you’re planning to use this on a small device like a Raspberry Pi, then you should either get the Oak-D(this was the original camera from the Kickstarter project) as it comes with a built-in barrel jack connector for external power(some devices like the Raspberry Pi cannot deliver the required power over USB only), or buy a separate Y-Adapter for your camera. If you’re putting the camera in a vibrating environment, such as a car for example, then you might want to get the Oak-D S2 Fixed-Focus, although note that this only affects the RGB camera. If you’re on a budget, or want to have a lighter camera by sacrificing some infrared resolution, you can get either the Oak-D Lite Auto-Focus, or the Oak-D Lite Fixed-Focus. Again, the auto or fixed focus only applies to the RGB camera.
VSI plus active infrared stereo cameras
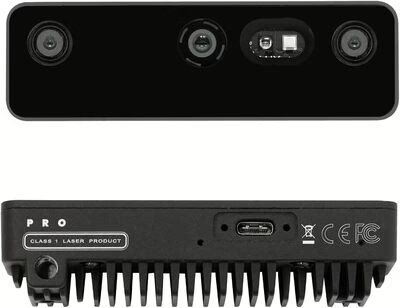
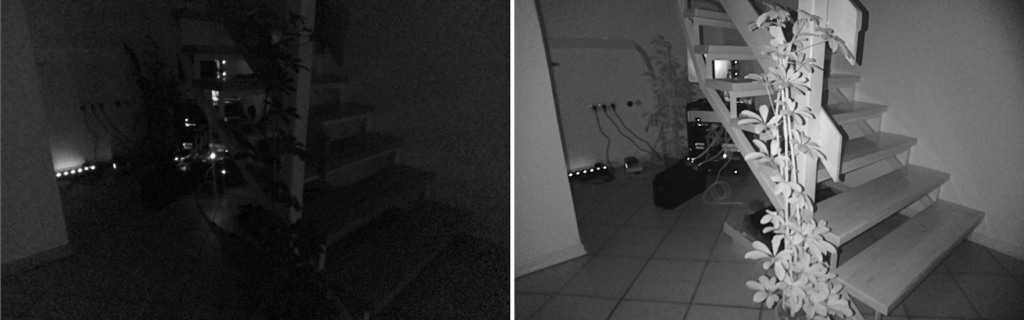
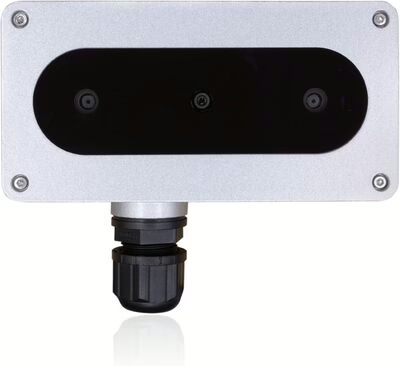
These cameras can do everything that the VSI plus passive infrared stereo cameras can do but also come with an infrared laser dot projector for active stereo and an infrared illumination LED for night vision. This means that you will get a much better depth estimation for uniform areas such as walls for example, as passive stereo relies on matching the features of the scene only, but blank walls have very few distinctive features. By projecting a known pattern in infrared (invisible to the human eye and the RGB camera), the extra features in the infrared frames help the camera to get a better depth estimation in those cases.
Another thing you can do with this camera is to use the infrared illumination LED to be able to “see in the dark” as the RGB camera(or your eyes) would not be able to see anything, but both infrared cameras would be completely illuminated. This is useful for applications that need to do inference in the near-infrared spectrum with no natural light.
For this section the standard camera would be the Oak-D Pro Auto-Focus. If you don’t have any special requirements, this should be the one you get. There are some variants that you might want to consider in case you need something special. If you’re planning to use the camera in a vibrating environment (such as a car for example), then you might want to grab the Oak-D Pro Fixed-Focus (note that the fixed focus only applies to the RGB camera). If you’re interested in a wider field of view, then you should get the Oak-D-Pro Wide.
Industrial usage
Finally, if you’re going to use these cameras in industrial applications, Luxonis offers them in a more ruggedised version and with a Power over Ethernet (PoE) connection. The features of the cameras are otherwise the same as already discussed. You can check the industrial version of these cameras here.
Conclusion
And that’s it, you should now be able to decide which Oak camera is best for your particular application. If you want some help starting out with the installation of the software, check out this post.
Enjoyed the article?